Introduction
Microsoft to Microsoft should be simple. That's what I thought the first time I tried moving a PST archive into Office 365 — an old project account being decommissioned, five years of email that needed to land somewhere before the license expired. I spent the better part of an afternoon figuring out that Microsoft's import tools are designed for IT administrators managing enterprise rollouts, not for someone trying to get one archive migrated on a deadline. There's an admin role you have to assign yourself, a command-line upload tool, a CSV mapping file. And a 20GB file size limit I hit without warning.
If you're dealing with the same thing, this is the guide I wish I'd had.
The standard Microsoft method — Network Upload — requires Exchange Online admin roles, a command-line tool called AzCopy, and a CSV mapping file you have to build yourself. For IT administrators running organizational migrations, that's the expected path. For anyone else, it's more setup than the job deserves.
There are three options. Network Upload is the official Microsoft route. Drive Shipping is a physical alternative for large archives over slow connections. Dedicated PST converters handle the migration without any of the admin infrastructure — no AzCopy, no CSV files, no 20GB ceiling.
Here's how each one works and where each one fits.
Three Ways to Migrate PST to Office 365
The three options look different in practice than they do on paper.
Microsoft Network Upload
is the built-in path for organizations. The setup: assign the Mailbox Import Export role to your account in Exchange Online (it isn't on by default), generate a SAS URL from the Microsoft Purview Compliance Portal, upload PST files using the AzCopy command-line tool, build a CSV mapping file that specifies which PST goes to which mailbox, then submit the import job. It works, but has hard limits. PST files over 20GB fail during processing — that's a ceiling, not a warning. Individual items over 150MB get skipped without notification. Folder nesting past 300 levels causes failures. Import speed averages around 24GB per day.
Something that catches people after the migration: Office 365 automatically puts newly imported items on indefinite retention hold. The hold is meant to protect imported data from being immediately purged, but it means existing retention policies won't clean up old items until you set an end date manually or turn off the hold. I've seen people discover this months after a migration when their cleanup runs weren't doing anything. It's the kind of detail that only shows up after the import is already done.
Drive Shipping
is for large archives where uploading over the internet isn't practical. Copy PST files to a BitLocker-encrypted hard drive, ship it to a Microsoft data center, and they load it from there. Costs $2 per GB, takes one to two weeks. Same 150MB item limit applies. Most people don't need this, but for a 200GB migration on a slow connection, it makes sense.
Dedicated PST converters
read the PST directly without going through the import infrastructure. No admin roles, no AzCopy, no CSV. No 20GB cap. Contacts and calendar can be exported in separate passes. Folder structure comes through intact. For individuals, small teams, or anyone migrating without Exchange Online admin access, this is the practical option.
What Migrates — and What Needs a Separate Pass
Email transfers cleanly. Messages come over with full headers, body, timestamps, and attachments. Your Outlook folder structure lands in Office 365 as folders.
Contacts and calendar don't follow automatically. They need separate export passes — contacts as CSV into Office 365 People, calendar events as ICS into Outlook or Office 365 Calendar. I've watched people close out a migration, call it done, and then spend an hour tracking down why their address book didn't come over. Plan for these before you start.
A few limits worth knowing: items over 150MB are skipped silently during Office 365 import. Most emails are nowhere near that size, but archives that include large documents sent as attachments can have them. Check before running. Also, Office 365 doesn't support importing to public folders through the standard PST import path — that data needs a different approach.
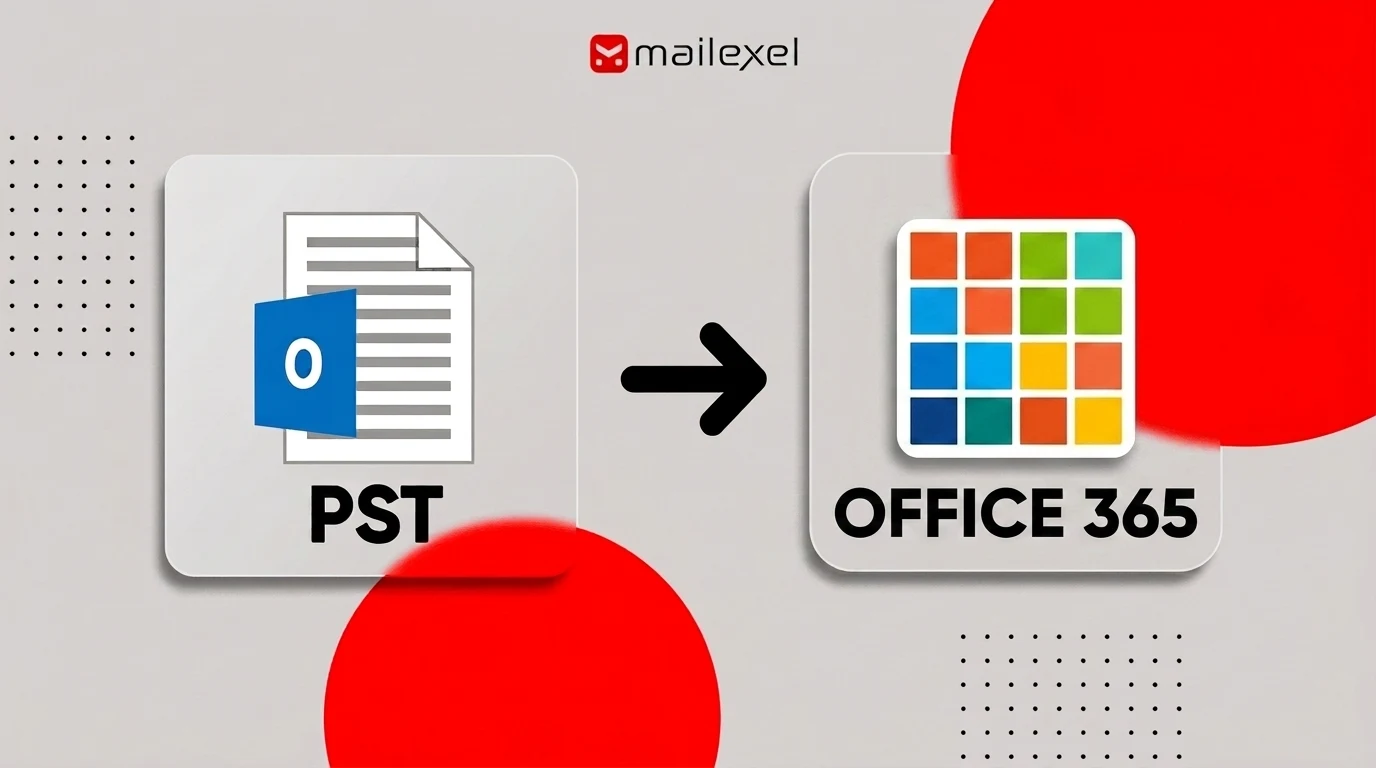
How to Migrate PST to Office 365 (Step-by-Step)
For most people — anyone without Exchange Online admin access, anyone moving a personal or small-team archive — a dedicated converter is the practical path. The tool I keep using is MailExel. I tried a couple of others that either failed on larger archives or required Outlook installed, which isn't always available on a newer machine. MailExel reads PST directly, migrates into Office 365 with folder structure intact, no 20GB ceiling.
Before starting: check for passwords on the PST. I spent about twenty minutes troubleshooting a migration once that turned out to be completely fine — the PST just had a password from an old IT policy nobody remembered was there. Open the PST in Outlook, go to File → Account Settings → Data Files, and remove any password. Then close Outlook before running, because it holds the file open.
Also check destination mailbox storage. A migration that stops at 70% because the mailbox hit its size limit is a mess to pick up.
To follow these steps, you'll need the software installed. Download it below — takes about a minute, then come back and start at Step 1.
Launch the application and use Add Files to bring in your PST — or Add Folder if you're processing multiple PSTs from several accounts. Everything loads as one job. Files appear in the main panel ready for scanning.
The software automatically scans all content in the PST: emails, contacts, calendars, notes, tasks. Nothing to do here. Most archives scan in a few minutes; larger PSTs take proportionally longer.
The preview shows your full folder structure with item counts. Look at this before you run anything.
I've caught more than one thing in this step that I didn't expect — a shared mailbox folder from a previous account sitting in the archive, years of Deleted Items a user had already cleaned out, folders from an account I hadn't realized was included in the PST. The preview takes two minutes and shows you what's actually in there before it goes anywhere.
Choose Office 365 or Microsoft 365 as the output destination. Sign in with your Microsoft account and grant the required permissions. For organizational accounts, your Microsoft 365 admin may need to enable the necessary permissions first.
If you only need a specific date range — a compliance export for a particular period, or just the past two years of a longer archive — configure that filter here before running.
Start the export. The tool connects to Office 365 and pushes emails folder by folder, mapping your PST folder structure to folders in the destination mailbox. When it finishes, open Outlook or Outlook on the web and spot-check a few folders — body content, headers, attachments. Check at least one folder that had large attachments.
Common Problems and How to Fix Them
Most PST to Office 365 migrations hit at least one snag.
PST fails to process or stalls in the import queue.
With Network Upload, first check the file size — anything over 20GB fails. Split it in Outlook before uploading, or use a converter that doesn't have that limit. If it's not size, check for password protection and run ScanPST.exe (search "Inbox Repair Tool" in Windows) for corruption. Any PST from a machine that shut down improperly is worth checking.
"You don't have permission to import PST files."
The Mailbox Import Export role isn't on by default. Go to Exchange admin center → Permissions → Admin roles and add it. Changes can take up to 24 hours to apply.
CSV mapping file errors stop the entire import job.
Office 365 is strict about the CSV format — a single malformed row stops everything. Validate your file against Microsoft's template before submitting.
Attachments missing from specific emails.
Items over 150MB are skipped silently. Check whether the missing attachments were large files. Upload those to SharePoint or OneDrive and link from the email instead.
Imported items aren't being purged by existing retention policies.
Office 365 places imported data on indefinite retention hold after a Network Upload. Go to Microsoft Purview → Data lifecycle management → Retention holds and either set an end date or disable the hold based on what your policies require.
Converter won't open the PST.
Either Outlook is running and has the file locked (close it first), or there's corruption. Run ScanPST.exe. If it can't repair it, try the converter's recovery mode — dedicated converters often pull content out of PSTs that Outlook won't open.
-
Remove passwords from PST files before starting. Keep PST files under 20GB for Network Upload; use a converter or split larger files. Close Outlook before running any migration. Run ScanPST.exe on any PST from a machine that shut down improperly. Check destination mailbox storage before starting. Plan separate export passes for contacts (CSV) and calendar (ICS). After Network Upload import, check retention hold settings and set an end date if needed. Spot-check emails, folders, and attachments in Outlook after migration completes. Keep the original PST until you've confirmed everything landed correctly.
Frequently Asked Questions
What's the difference between Network Upload and Drive Shipping?
Network Upload transfers PST files over the internet using AzCopy — free, and the right call for most migrations. Drive Shipping is for large archives or slow connections: copy PSTs to an encrypted hard drive, ship it to Microsoft, and they load it from there. Costs $2 per GB, takes one to two weeks. Both require Exchange Online admin roles and have the same 150MB item size limit.
Why does my PST import keep failing in Office 365?
Most common causes: the file is over 20GB, it's password-protected, it's corrupted, or the CSV mapping file has a formatting error. Check file size first. Remove any passwords. Run ScanPST.exe for corruption. Validate the CSV against Microsoft's template. With a dedicated converter, most of these limits don't apply.
How long does a PST to Office 365 migration take?
Microsoft's import service averages around 24GB per day — treat that as a rough estimate, not a guarantee. A 50GB archive might take two to three days. Dedicated converters migrate directly to the mailbox without the import queue, which is often faster for individual mailboxes.
What happens to contacts and calendar entries?
They don't transfer automatically with email. Contacts need to be exported as CSV and imported into Office 365's People app. Calendar events need to be exported as ICS and imported into Outlook or Office 365 Calendar. Plan separate passes for each after email.
Can I import ANSI format PST files to Office 365?
ANSI PST files — the older format from pre-2003 Outlook — can cause compatibility problems and garbled folder names, especially with non-ASCII characters. Open the PST in a current version of Outlook and re-export it in Unicode format before migrating. Unicode is what Office 365 handles reliably.
Wrapping Up
For organizations with Exchange Online admin access, Network Upload is the standard path — plan for the admin setup, the 20GB limit, and the retention hold that activates after import.
For everyone else — individual users, small teams, anyone without admin access — a dedicated converter skips the infrastructure and gets the archive across with folder structure intact.
Either way: remove passwords first. Check storage. Run ScanPST.exe on anything you're not confident about. Do contacts and calendar as separate passes. Spot-check in Outlook when it's done.
Got a specific migration situation giving you trouble? Drop it in the comments.